Nuxt.js + Tailwind CSS
Nuxt.js + Tailwind CSS guide for Trezo.
Overview
Trezo is built on the powerful combination of Nuxt.js and Tailwind CSS, offering a fast, SEO-friendly, and fully responsive solution for modern web applications. By leveraging Nuxt.js’s server-side rendering (SSR) capabilities, the project ensures optimal performance and seamless navigation. Tailwind CSS provides a highly customizable utility-first design system, enabling rapid and flexible UI development. Emphasizing modularity and component-driven development, Trezo facilitates scalable and maintainable code. With pre-built components, utility classes, and a mobile-first design approach, the application delivers a smooth and engaging user experience across all devices.
Tailwind CSS
Tailwind CSS is a modern utility-first CSS framework designed to streamline front-end development by providing a vast library of low-level, customizable utility classes. Unlike traditional CSS frameworks that come with predefined components, Tailwind offers a more flexible approach, allowing developers to style elements directly in HTML. Each utility class in Tailwind serves a single purpose, such as setting colors, padding, margins, shadows, and typography, enabling fast prototyping and consistent, responsive designs.
With a focus on efficiency and ease of customization, Tailwind encourages developers to create unique interfaces without writing extensive custom CSS. Its utility-based approach minimizes CSS bloat, while configuration options and plugins allow seamless theming, dark mode support, and integration with other tools like PostCSS or PurgeCSS for optimal performance in production.
Tailwind CSS is perfect for building modern, responsive websites with minimal styling overhead and full design control right in your markup.
Local Development Environment Setup
In order to kickstart the development of your web app with Trezo, the very first thing is to setup an Nuxt.js development environment.
Node.js & npm
- Node.js and NPM: If NodeJS is not installed then download it from https://nodejs.org/ Google Fonts. NPM comes bundled with Node.js
- Now check the version if everything is installed nicely like open the
terminal/bash/command promptand runnode -vnpm -vif you get any number then everything is just fine.
Open the terminal and run the command npm install -g @vue/cli. To get more help on the Vue.js CLI check out the Vue.js CLI Guide.
NPM Packages
- Before proceding you'll need to install npm packages. You can do this by running
npm installfrom the root of your project to install all the necessary dependencies.
Development Server
- Run
npm run devfor a dev server. Navigate to http://localhost:3000/. The app will autometically reload if you change any of the source files.
Building
- Run
npm run buildto build the project.
Pages Info
All Pages

Pages Components
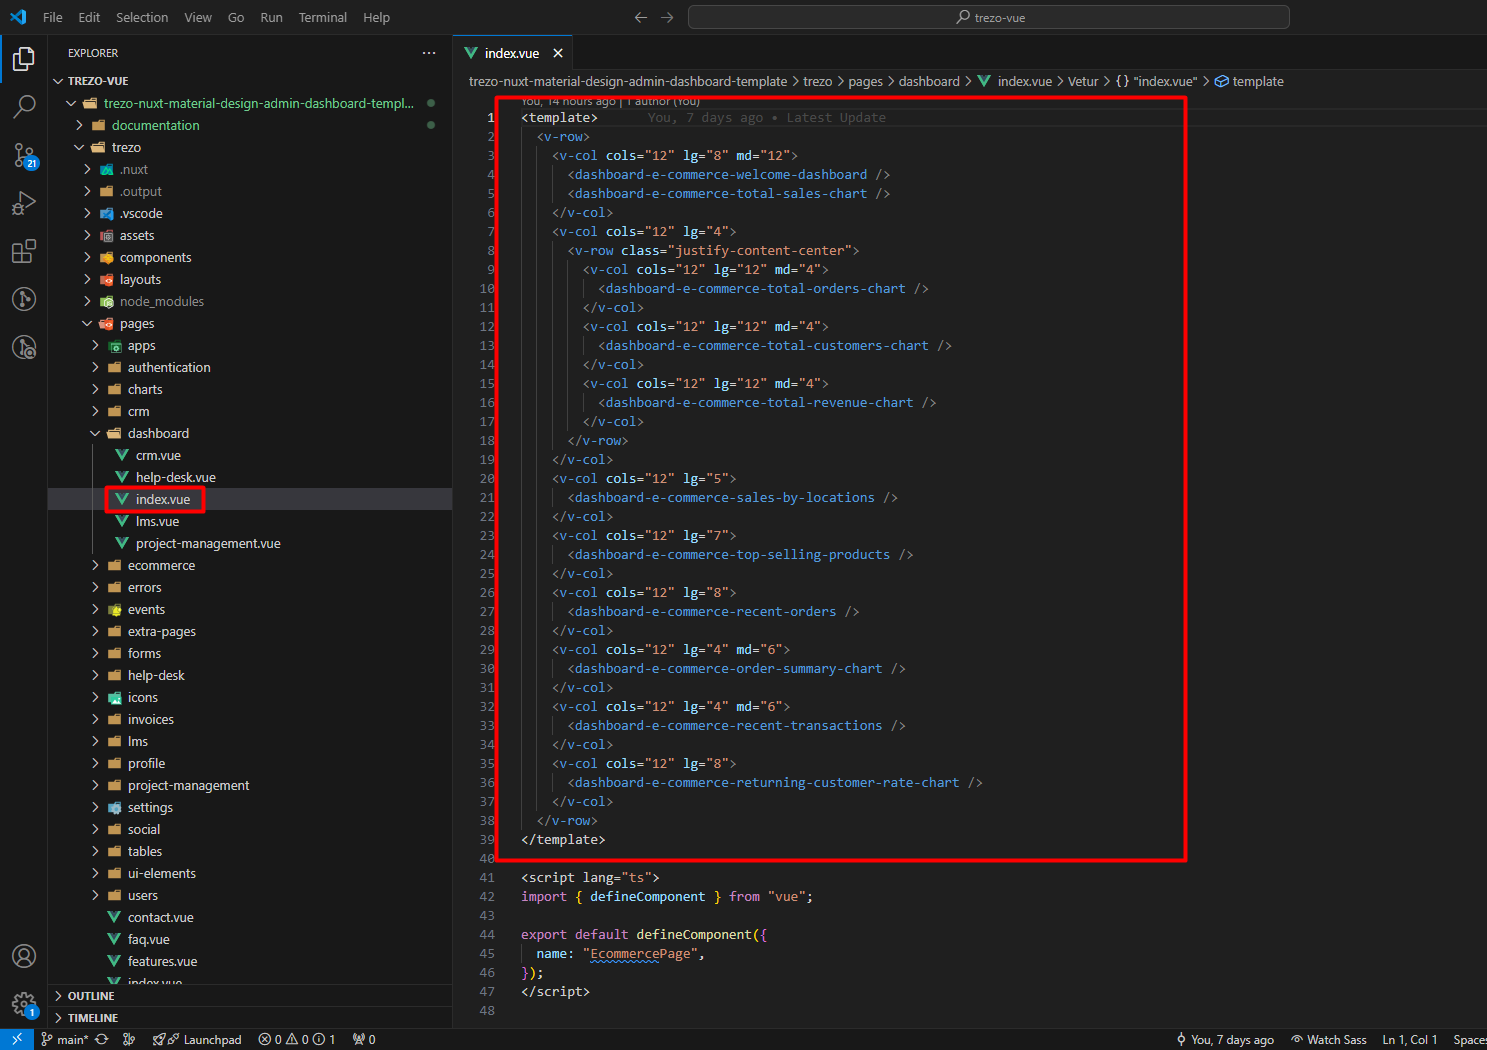
All Pages components are there & based on the pages name you will find the components folders inside components.
Dependencies
Here are the dependencies list which being used in the Trezo Nuxt.js Template:
package.json
"dependencies": {
    "@fullcalendar/core": "^6.1.17",
    "@fullcalendar/daygrid": "^6.1.17",
    "@fullcalendar/interaction": "^6.1.17",
    "@fullcalendar/timegrid": "^6.1.17",
    "@fullcalendar/vue3": "^6.1.17",
    "@headlessui/vue": "^1.7.23",
    "@mdi/font": "^7.4.47",
    "@tailwindcss/vite": "^4.1.7",
    "@vueup/vue-quill": "^1.2.0",
    "apexcharts": "^4.7.0",
    "nuxt": "^3.17.3",
    "nuxt-swiper": "^2.0.1",
    "prismjs": "^1.30.0",
    "quill": "^2.0.3",
    "remixicon": "^4.6.0",
    "tailwindcss": "^4.1.7",
    "vue": "^3.5.14",
    "vue-router": "^4.5.1",
    "vue3-apexcharts": "^1.8.0"
},
"devDependencies": {
    "sass": "^1.89.0",
    "sass-loader": "^10.5.2"
}
How to Run The SCSS File
Please open the file Visual Studio Code Editor. And follow the video tutorial.
Here the Link: Watch this video on YouTube
Credits
Note: All images are used for preview purpose only and not included in the final purchase files.
Images
Google Fonts
IconFont
Packages
Installation Video
To help you understand the installation process better, please watch the following video tutorial. It provides a step-by-step guide on setting up the application:
Additional Notes
If you need more details, please refer to the written instructions.
Feel free to reach out to our support team if you have any questions!