Nuxt.js + Vuetify
Nuxt.js + Vuetify guide for Trezo.
Overview
Trezo leverages the power of Nuxt.js for seamless, server-rendered Vue applications combined with Vuetify’s elegant Material Design components. This robust framework offers an ideal blend for building dynamic and interactive UIs with optimal performance, SEO-friendly structures, and a flexible, intuitive design system.
Key Features:
- Server-Side Rendering (SSR): Nuxt.js enhances performance by pre-rendering pages on the server, resulting in faster load times and better SEO.
- Effortless UI Design: With Vuetify’s comprehensive Material Design components, designing visually appealing and responsive layouts becomes straightforward and consistent.
- Dynamic Routing & Meta Management: Nuxt.js simplifies the creation of dynamic routes and meta tags, essential for larger applications with deep content structures.
- Modular Architecture: Nuxt.js’s modular system ensures scalability and easy integration of various features, from authentication to API handling.
- Progressive Web App (PWA) Capabilities: Built-in PWA support provides offline capabilities, improving accessibility and engagement.
Why Choose Nuxt.js with Vuetify?
Combining Nuxt.js with Vuetify allows us to create a streamlined development environment, providing the flexibility to focus on delivering an optimized, visually pleasing, and performant application. This setup is perfect for developers looking to build robust, engaging web applications with an emphasis on user experience.
What is Nuxt.js?
Nuxt.js is a free and open-source framework with an intuitive and extendable way to create type-safe, performant and production-grade full-stack web applications and websites with Vue.js.
We made everything so you can start writing .vue files from the beginning while enjoying hot module replacement in development and a performant application in production with server-side rendering by default.
Nuxt.js has no vendor lock-in, allowing you to deploy your application everywhere, even on the edge.
Local Development Environment Setup
In order to kickstart the development of your web app with Trezo, the very first thing is to setup an Nuxt.js development environment.
Node.js & npm
- Node.js and NPM: If NodeJS is not installed then download it from https://nodejs.org/. NPM comes bundled with Node.js
- Now check the version if everything is installed nicely like open the
terminal/bash/command promptand runnode -vnpm -vif you get any number then everything is just fine.
Open the terminal and run the command npm install -g @vue/cli. To get more help on the Vue.js CLI check out the Vue.js CLI Guide.
NPM Packages
- Before proceding you'll need to install npm packages. You can do this by running
npm installfrom the root of your project to install all the necessary dependencies.
Development Server
- Run
npm run devfor a dev server. Navigate to http://localhost:3000/. The app will autometically reload if you change any of the source files.
Building
- Run
npm run buildto build the project.
Pages Info
All Pages

Pages Components
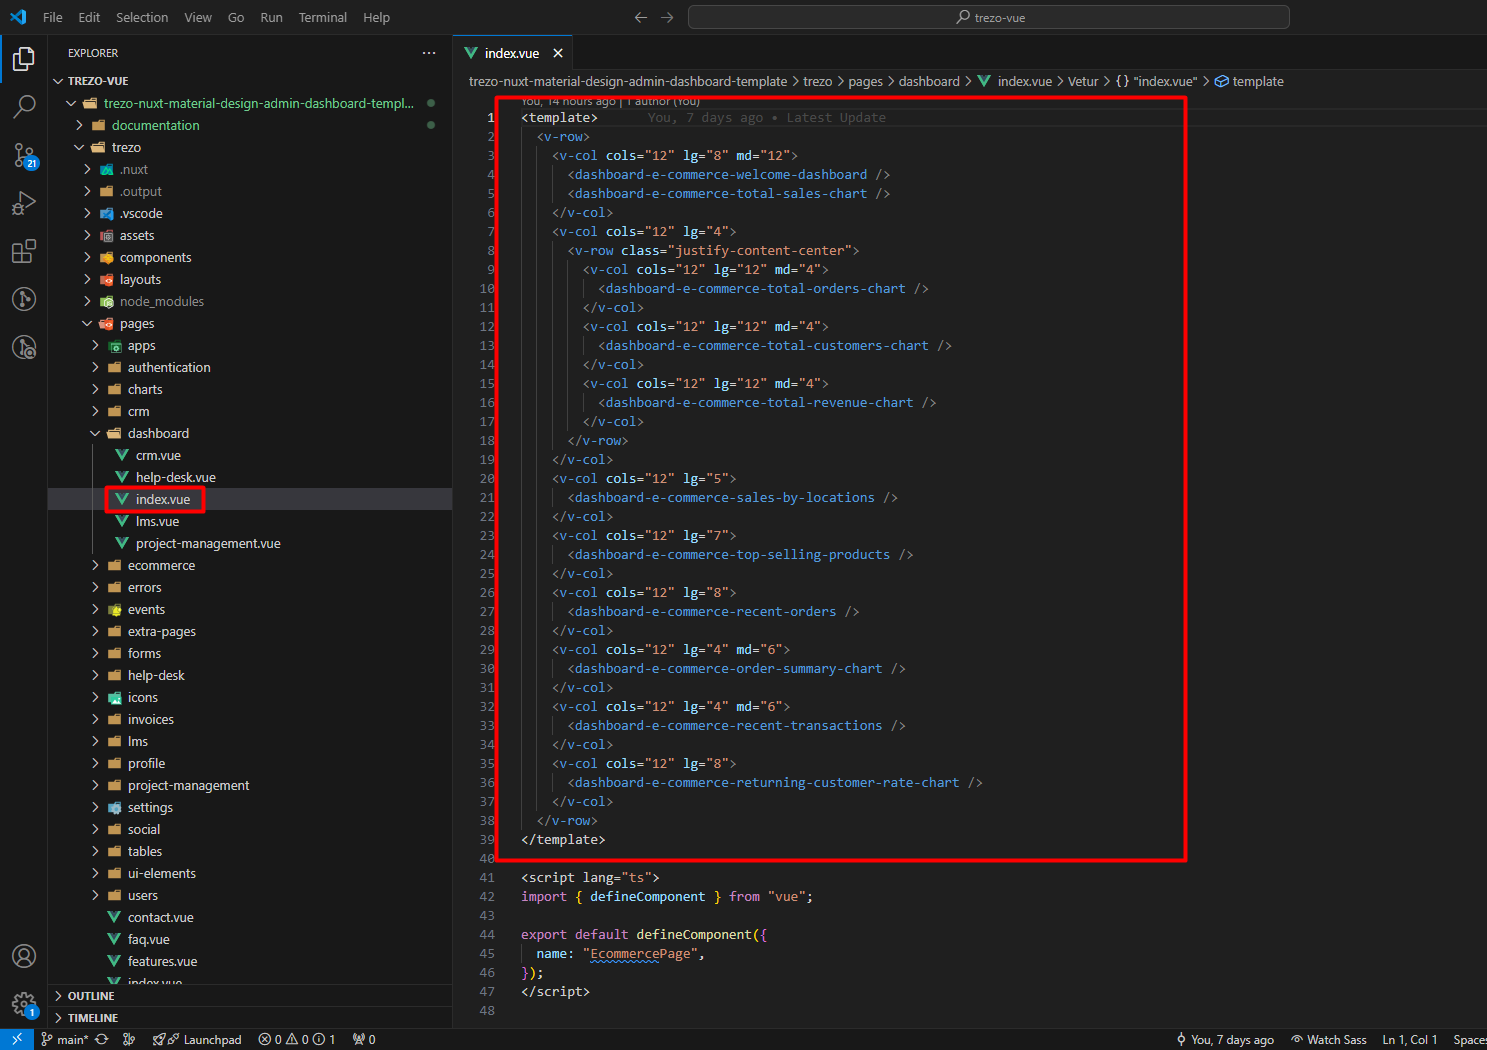
All Pages components are there & based on the pages name you will find the components folders inside components.
Dependencies
Here are the dependencies list which being used in the Trezo Nuxt.js Template:
package.json
"dependencies": {
    "@fullcalendar/core": "^6.1.14",
    "@fullcalendar/daygrid": "^6.1.14",
    "@fullcalendar/interaction": "^6.1.14",
    "@fullcalendar/timegrid": "^6.1.14",
    "@fullcalendar/vue3": "^6.1.14",
    "@mdi/font": "^7.4.47",
    "@vueup/vue-quill": "^1.2.0",
    "apexcharts": "^3.49.1",
    "nuxt": "^3.11.2",
    "quill": "^2.0.2",
    "remixicon": "^4.2.0",
    "vue": "^3.4.27",
    "vue-router": "^4.3.2",
    "vue3-apexcharts": "^1.5.3",
    "vue3-carousel-nuxt": "^1.1.1"
},
"devDependencies": {
    "@primevue/nuxt-module": "^4.0.0-rc.2",
    "sass": "^1.77.4",
    "vite-plugin-vuetify": "^2.0.3",
    "vuetify": "^3.6.8"
}
Fonts Used
By default, the template loads Inter font from Fontshare Web Font Services. The font can be changed based on the website needs. Google Fonts
You will find the font code in the style.scss file: src/assets/scss/style.scss
**
- Default CSS
*/
@import url("https://fonts.googleapis.com/css2?family=Inter:[email protected]&display=swap");

/* You can add global styles to this file, and also import other style files */
:root {
    --fontFamily: "Inter", sans-serif;
    --blackColor: #3a4252;
    --whiteColor: #ffffff;
    --bodyColor: #64748b;
    --borderColor: #eceef2;
    --transition: 0.5s;
    --fontSize: 14px;
    --primaryColor: #605dff;
    --secondaryColor: #3584fc;
    --successColor: #25b003;
    --dangerColor: #ff4023;
    --warningColor: #ffc107;
    --infoColor: #0dcaf0;
    --lightColor: #f8f9fa;
    --darkColor: #212529;
    --purpleColor: #ad63f6;
    --orangeColor: #fd5812;
    --orangeColor: #fd5812;
}
*,
::after,
::before {
    box-sizing: border-box;
}
body {
    margin: 0 !important;
    padding: 0 !important;
    color: var(--bodyColor);
    background-color: #f6f7f9;
    font: {
        size: var(--fontSize);
        family: var(--fontFamily) !important;
    }
}
Note: To ensure the styling functions correctly, make sure to run the SCSS files before testing the application. This step compiles the SCSS into CSS, allowing Vuetify’s styles and any custom modifications to display as expected.
How to Run The SCSS File
Please open the file Visual Studio Code Editor. And follow the video tutorial.
Here the Link: Watch this video on YouTube
Credits
All images used in this project are for preview purposes only and are not included in the final purchase files. However, we are committed to providing these images upon request. To receive them, please create a support ticket after completing your purchase.
Images
Google Fonts
IconFont
Packages
Installation Video
To help you understand the installation process better, please watch the following video tutorial. It provides a step-by-step guide on setting up the application:
Additional Notes
If you need more details, please refer to the written instructions.
Feel free to reach out to our support team if you have any questions!